-----In 2004 we bought a falling-down house and 30 acres. This blog documents our progress-----

Showing posts with label visit. Show all posts

Sunday, April 15, 2012

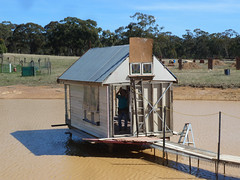
lakehouse is almost done, but not quite

We finished up getting about 95% of the way there with the lakehouse.  Which isn't bad going considering we lost Dave from the team after his accident.

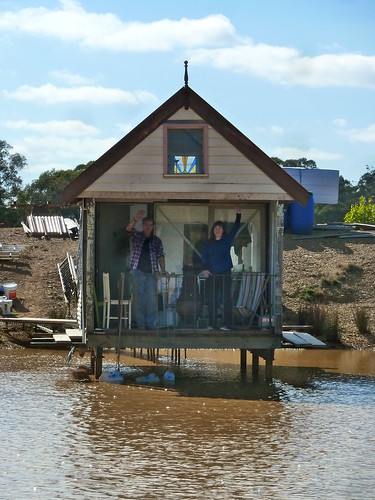
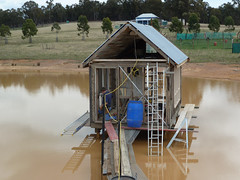
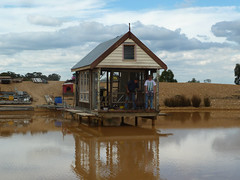
If you take a photo from the right angle, it looks quite complete... (except we eventually do need to get some trees planted to shield the next door neighbors shed and house roof - they weren't there when we started)
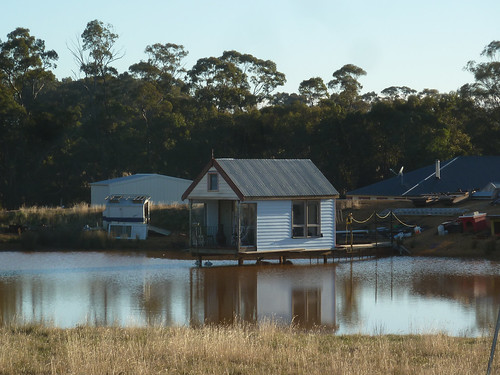
lakehouse progress - 70

But from other angles, it's clear there's a ways to go lakehouse progress - 87

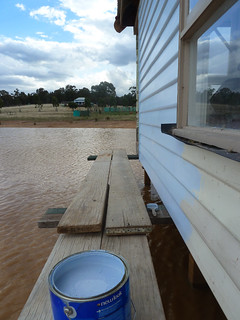
There are a few little bits and pieces left to do inside but nothing major.  The bulk of the work is outside - painting and some carpentry.  Dad has since got all the important stuff done so it's watertight and secure, but the painting I fear will need to wait for my next visit!  

Saturday, April 14, 2012

Sunsets

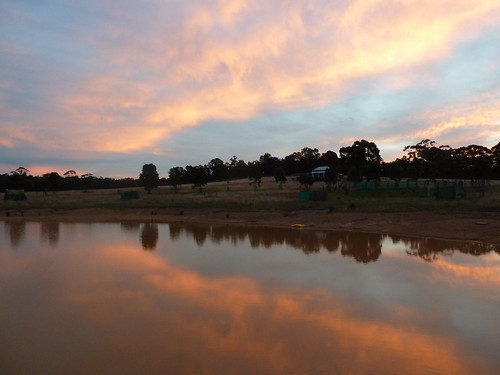
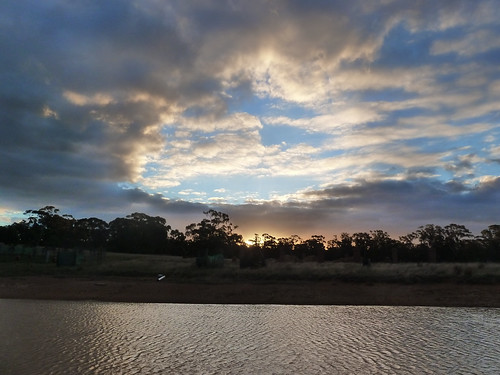
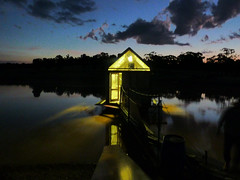
So I love the vibe inside the lakehouse, and the verandah is great... but the most wonderful thing of all is the view.   It is the most perfect spot to sit and relax with a glass of wine, the fire going, and just look out.  These are just a few of the sunsets we got to see ...  

sunset from lakehouse veranda - 1 sunset from lakehouse veranda - 2 sunset from lakehouse veranda - 3


Sunday, April 08, 2012

The verandah is amazing

So far I've not really talked much about the verandah of the lakehouse.  This was an impromptu idea of Dad's but a brilliant one.

lakehouse progress - 75

Rather than having it be the full height, he put in a lowered roof so there's a small loft above it.  That's great on the inside as it's extra storage - or even a sleeping area.  But it's also a bonus for the verandah as it gives it a far cosier feel.

There are glass panels either side of the verandah so that effectively it's closed in on 3 sides.  I must admit, I was horrified when I first heard about that - but it turned out Dad was right.  They are hardly noticeable, and it really helps cut down the wind.  He was also right about the balustrade - I'd been convinced I wanted it open so I could sit and dangle my feet off the edge; but it's such a small area that you really do feel safer having it.  Plus it turned out to be a great footrest :-)

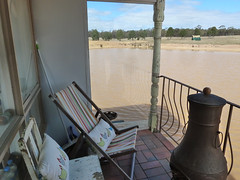
The verandah floor is currently just stacked brick, although eventually I'll put tiles.  The roof is lined with an old metal fencing sheet which I painted sky blue.  Dad put that in so it was fire-resistant, so we could use the chiminea there, which is just lovely to sit around.

lakehouse progress - 55 lakehouse furnishing - 02

We still have a bit of work left to do on it - the floor needs laying properly, the architraving needs doing on the outside, and of course it all needs a proper paint job.  But we got close enough this trip for me to see how wonderful it will be.


Saturday, April 07, 2012

We finally moved in... (well temporarily)

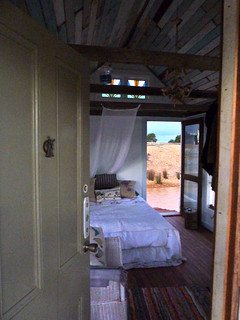
OK, it's not 100% complete yet on the outside, but we got it to the stage that it was close enough.  I couldn't wait any longer to move in.  :-)  

lakehouse furnishing - 05 lakehouse furnishing - 01
lakehouse furnishing - 06 lakehouse furnishing - 04

It was furnished with a combination of things that I got out of storage.  The bed is a blowup one, believe it or not, but very very comfortable.  Some old chairs and tables that I cleaned up, along with some nice linen and paper window blinds and the odd book and nick-nack and suddenly it starts to feel very comfortable.  Still very shabby of course, as befits what is basically a glorified shed - but I love it.

The amazing thing about sleeping there is that it is so peaceful, the only thing that wakes you in the morning is the sun creeping in and the sound of the birds.  It's lovely.

Of course, we were only there a few days when it was time to leave, so everything got packed up so Dad can use it for his own stuff.  But I prefer to remember it like this.  :-)

Working on the lakehouse

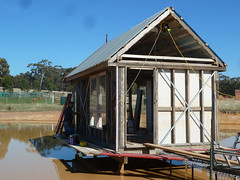
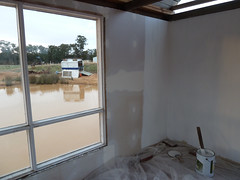
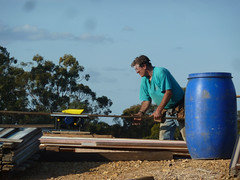
We recently spent over 2 weeks at Amherst as part of our long-awaited holiday.  Originally the plan had been for the lakehouse to be ready for us to move into - but despite Dad's valiant efforts, that was still a long way off.  This is what it looked like when we arrived:

lakehouse progress - 01 lakehouse progress - 03

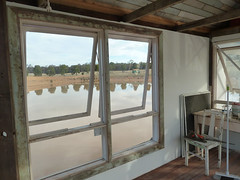
Yes, charming and visible potential, and some lovely windows and a ceiling... but no walls.  :-)   Thankfully we had backup accommodation - huge thanks to Tiff and Cal, Renee and Dave - or else I would have been a very unhappy camper!

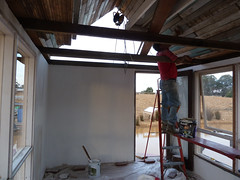
The first day and a half we made great progress, with Dave putting on plasterboard.  Dad had cleverly rigged up electricity through the generator and so we had lighting, letting us keep working late into the evening.

lakehouse progress - 12 lakehouse progress - 13
lakehouse progress - 18 lakehouse progress - 16

Then disaster struck... Dave fell off a ladder.  He was really lucky - the only thing hurt was his ankle, in what turned out to be a severe sprain - but it could have SO much worse.  So we spent a day getting acquainted with Maryborough Hospital.

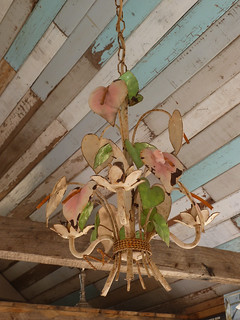
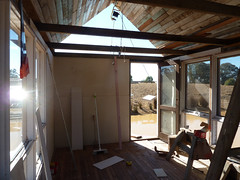
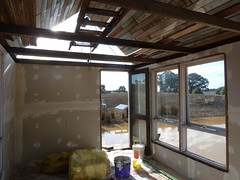
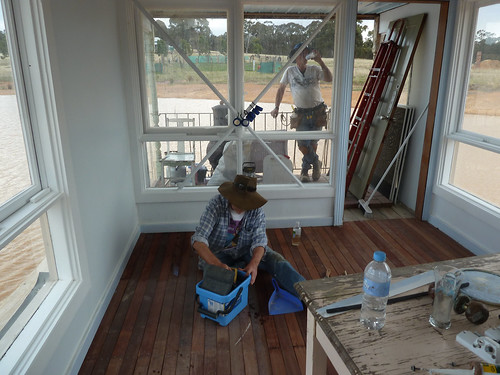
From then on Dave was out of action pretty much, so Dad switched his focus to help me work on the interior.  While I worked on the undercoats on the wall, Dad gave the ceiling a good wash.  He'd used old lining boards for it which looked amazing - but they were FILTHY.  Once scrubbed up though the end effect though was worth the effort - I adore them.  :-)

lakehouse progress - 20 lakehouse progress - 21

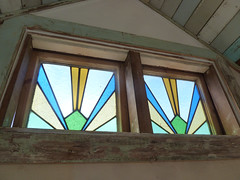
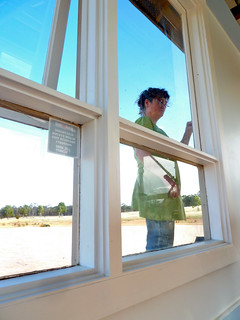
The next urgent task was to get the end somewhat sealed.  I'd bought some old stained glass windows that were still in frames, so Dad put them in... then did a quick patch job with old plasterboard, until he could get to the weatherboarding.  The architraving was made by Dad on-site hewn from some old weatherboards he saved from a skip.

lakehouse progress - 28 lakehouse progress - 40
lakehouse progress - 34 lakehouse progress - 38

And so it went on.  I painted and painted, while Dad did carpentry, and even Dave helped where he could - washing the floor which by then was filthy with plaster dust...

lakehouse progress - 43 lakehouse progress - 45
lakehouse progress - 44

Until at last... it was ready.  

Sunday, April 24, 2011

We have wildlife (not all welcome)

So Dave saw a snake when he was clearing the long grass in the olive grove. We knew they were around but I wish they would just stay hidden. It ran away from him into the forest so at least it wasn't mean.

On the plus side though, in the olive grove he also saw a stumpy tailed lizard. These are cute in a monster-ish sort of way. They are harmless but they have a bad temper and if you come near them they will stick their tongue out and hiss. Like in this photo. Unfortunately they are also stupid and so unlike snakes that run away, these guys just stay fixed in position meaning you have to be ultra-careful when mowing.

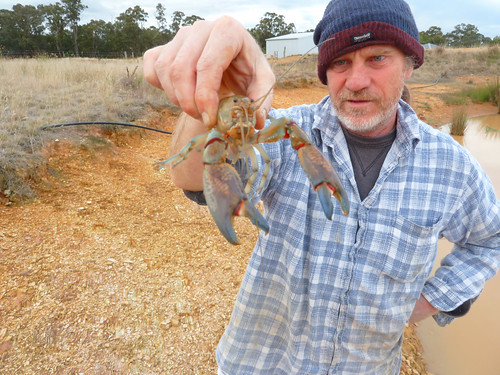
More interestingly in the dam we have yabbies (a kind of freshwater crayfish). As I will never be able to get rid of them, I am now thinking I may adopt them as a kind of low maintenance pet.

a friendly yabbie - 1

Dave has a yabbie net - he throws it in with bait to catch them so he can see how big they are. He swears he lets them go... and indeed in this case I have proof that at least one escaped the pot. I never knew yabbies swam backwards before!

The olives are thriving

Dave spent the last day at Amherst clearing his beloved olive grove. He moved away all the bits of wire and mowed it, and it looks amazing.

olive grove - 9

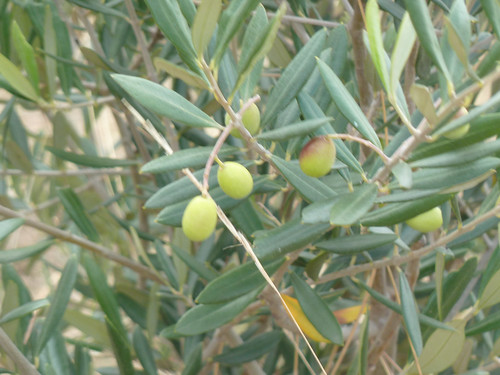
Some of the trees are nearly as tall as Dave. Even better, some have actual olives on them!

olive grove - 4

olive grove - 2

Behind the olives, there are a couple of peppercorn trees that Dave planted on his last visit. They're doing really well too, they'd nearly doubled in size. They're meant to be pretty fast growing so with like by the time we move there they'll look like actual trees.

olive grove - 7

Step 4: building the columns

Once the foundations were sorted, the most exciting part (for me anyway) began - building the columns.

The brick delivery guy kindly used his forklift to scatter the pallets around the paddock, so they'd be near where Pete would need them.


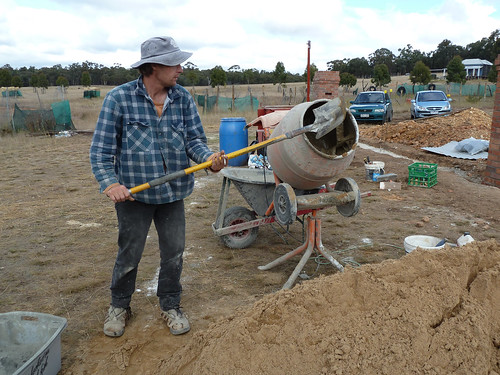
Then Pete began work. First he used the mixer to make mortar by mixing cement, sand and water.

working on the garden wall - 11

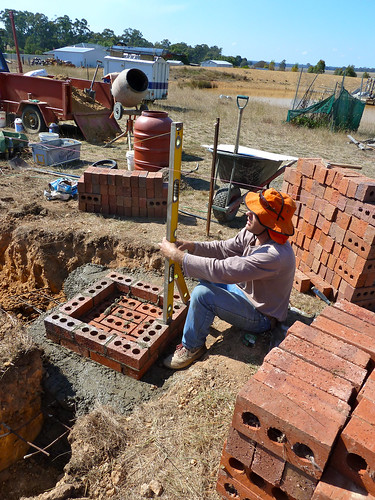
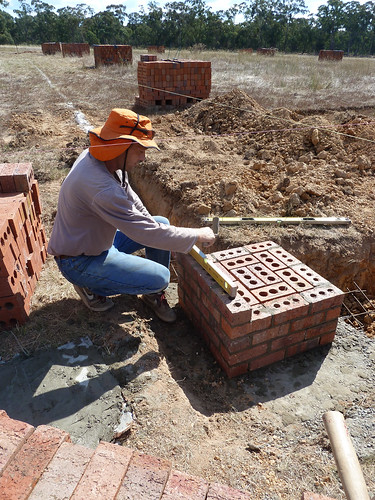
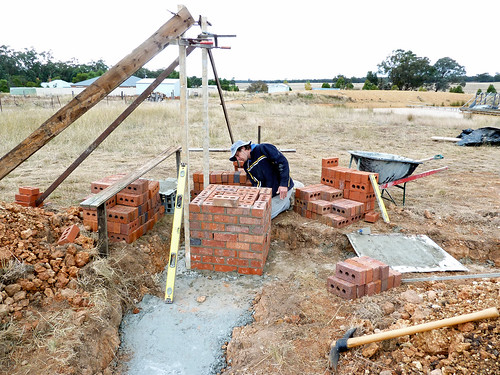
Then he started laying, using the Daniel Robertson bricks on the outside and the cheaper (less nice looking) bricks on the middle. Each row needed leveling, then more mortar and repeat.

building the columns - 02 building the columns - 04

After a few rows - apparently called 'courses' - he built a frame to serve as a guide to the level. Then he just continued straight on up.

building the columns - 11

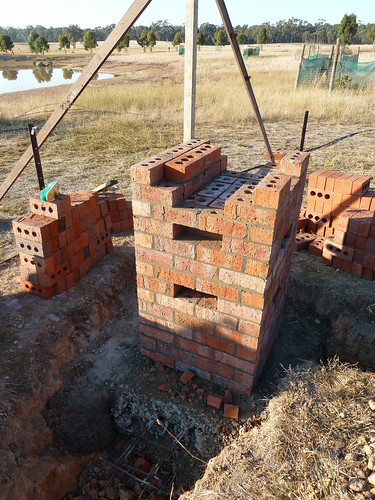
To make it easier to join up the middle bits, he left holes on the side parts. And at the top he did a nice pattern which is modeled on the shape of our chimney in London. For the time being, the top is filled in with cement, but left flat so ultimately we can perhaps put a planter or something on top.

building the columns - 07 building the columns - 09

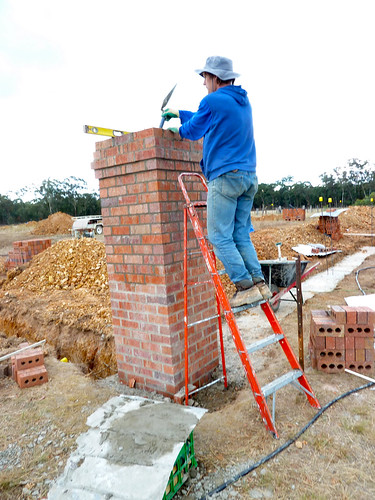
In the end Peter managed to get 4 columns built in the time they had. Each column is around 2.1-2.2m tall (Dave can't remember exactly). But you can get a good sense of the scale in this pic with Pete atop. :-)

building the columns - 16

Originally I had planned on having columns every 3-4m, but on site Dave revised that to every 5m. I've been worried about this, right up till today when I finally had the brainwave to go and measure at the walled garden in the park - and found they were even further apart! (more like 5.5-6m). So now I am much relieved. :-)
They decided to do large columns (3 x 3 bricks) on the corners and for the gateposts at either end, with smaller columns (2 x 2 bricks) in between. This is the rough plan they sketched up:

the latest vegie garden plan

We've got a long way to go obviously, but at least from here on progress will be visible!

Step 3: pouring the concrete

Once the steel was in position, the next step was to fill the trenches in with concrete.

The area was way too vast to attempt to do by hand, so we ended up getting readymixed concrete trucked in from Eureka Concrete. Who clearly are great suppliers, not only because they were friendly and reliable, but because they have trucks that look like Tonka toys :-)


Each truck contained 5 cubic metres worth of concrete, and we needed 7m for the short sides and 10m for the long side. We poured a side a day, so each day we had two trucks turn up.

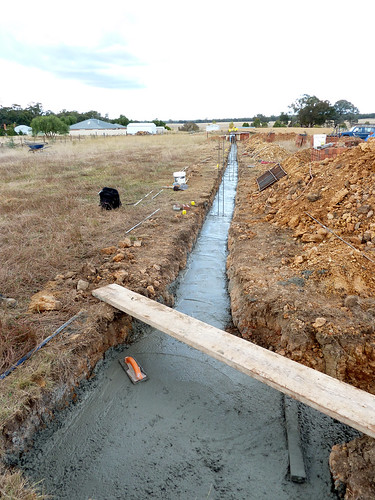
The concrete came out of a big funnel which had a lever so you could direct it. To get it to spread and settle in properly you poked it with a shovel. Then finally to smooth it out you use a little spreader thing, as if you were icing a cake.


concrete in the trenches - 04 concrete in the trenches - 09

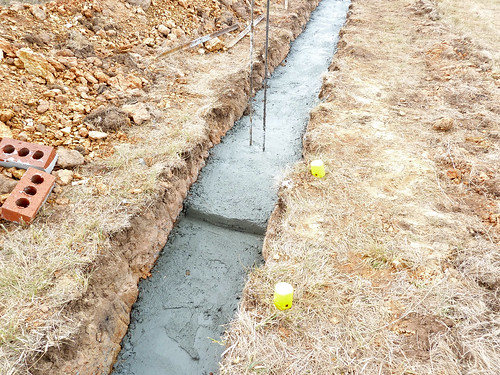
The final complication was that our ground was on a slight slope - but the concrete had to be level in order for the brick columns to be built upon. So every so often the guys had to put in little steps in the concrete - this too had to be worked out in advance.

concrete in the trenches - 06

Overall, it took about 20-30 minutes to pour each side, then another 30 mins to do the smoothing. The concrete was hard enough to walk on within a few hours, but to be safe we didn't start building columns on it until the next day after it had been poured.

Step 2: laying the steel

After the trenches were dug, each needed steel to be carefully laid within.

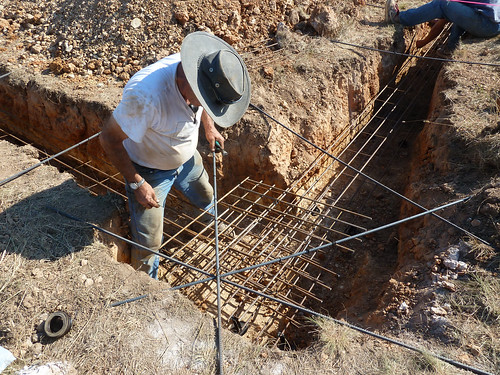
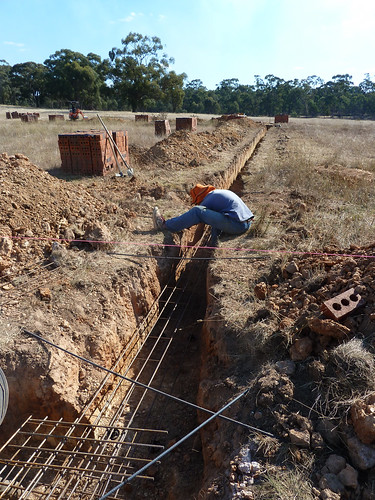
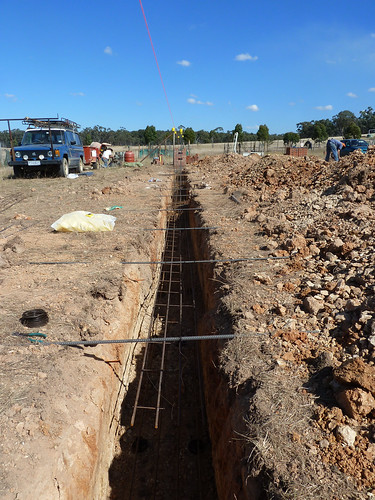
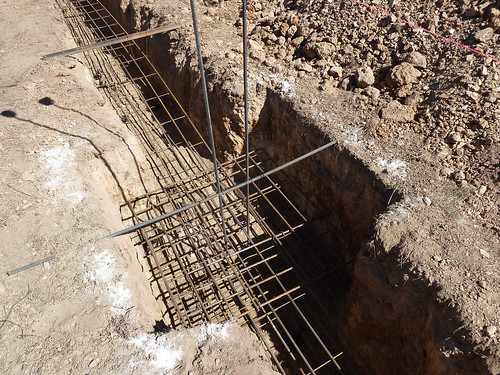
Two layers were needed. The first, 5cm from the bottom of the trench; the second at least 5cm from the top of where the concrete would be poured to. Plus all needed to be at least 5cm from the walls of the trench. The steel came in 6m lengths, by around 30-35cm, so the guys had to cut it to measure using an angle grinder. Where there were joins, the steel had to overlap by 60cm. And of course the columns needed to cover a wider area.

To position the steel, effectively in mid-air, they dangled it from wires tied to rods that were balanced across the top of the trench. In short - it was a really fiddly job, and pretty tedious when you consider they had to do it for 130m of trench!

trench work and laying steel - 18

trench work and laying steel - 19 trench work and laying steel - 15

Finally, the upright steel poles that would go in the middle of the columns needed to be put in and wired into place in the mesh. These were carefully measured to be 5m apart and there were two poles per column, each about 6 foot tall.

trench work and laying steel - 12

Step 1: digging the trenches

Dave is back, and brought the camera with more photos. Looking through them makes it clearer just what an enormous task it was to get the foundations in place.

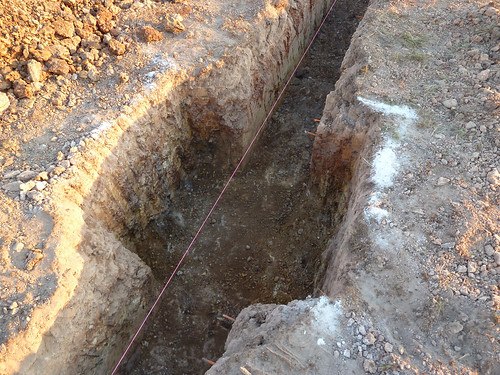
The first step was the get the trenches dug. They needed to be 60cm deep and around 50cm wide, except where the columns were, when they needed to be about 1m wide.

trench work and laying steel - 05

The guys tried to do it first using our tractor, but it was such slow going that they ended up having to hire another tractor - the main difference being that it had a bucket with special teeth.


I fear we are going to need to buy one of these teeth buckets.