-----In 2004 we bought a falling-down house and 30 acres. This blog documents our progress-----

Showing posts with label lakehouse. Show all posts

Saturday, January 05, 2013

The water lily experiment

Years ago I attempted to grow water lilies in the dam.  It was a complete failure to the point that I had pretty much decided to give up on it.  But Dad had other ideas.

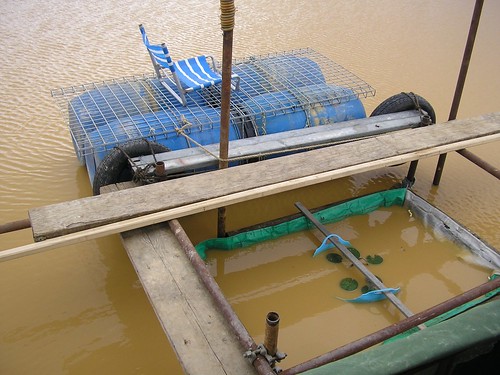
His first attempt was to plant them in giant barrels in the lake:

waterlily attempts - 1

From Dad's description:
I have filled 3 of my large blue barrels with fresh water in place in the dam in front of the veranda to experiment with whether water lilies work this way.... When you come and if you wish to have a deck made over these pots, which stick up above the high water line by 8 inch or so, we will discuss the configuration... I will progressively lower the plant pot to the bottom of the barrel as instructed...  Once it is settled in the water it should generate more and more leaves, and ultimately flowers. They are setup in pots by the garden shop so I didn't need to do anything but suspend the pot from the top until the leaves were floating. But they must be in deep water to flower. I will also put fresh water to them when you have decided the configuration of the pots and shape of the surround decking

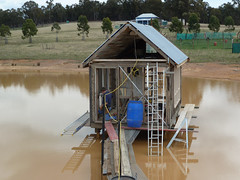
But this turned out not to work.  In the time between Dad's visits it was so hot that the water in the barrels evaporated, so it was unsustainable without someone there to top it up.  Not to mention the problem of the water stagnating.  So then Dad came up with an alternative plan -- suspending them in the dam directly inside an old bag he'd had for filling concrete, which let water in at the seams, to protect from yabbies.  I can imagine this looking a lot better than the barrels, so long as the bag goes down with the water level and we get some less obtrusive planters.  Note too the bonus of the little pontoon Dad built with the no longer needed old barrels!  I reckon if we got this covered with some decking it could be surprisingly cute.  :)
waterlily attempts - 4


Saturday, December 22, 2012

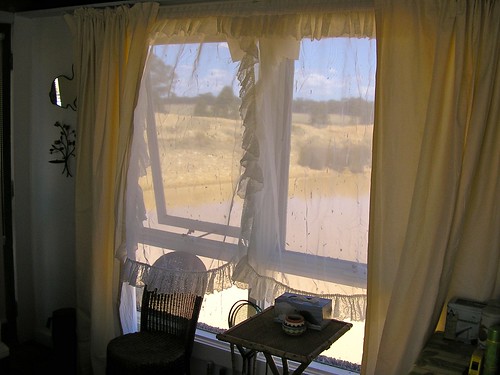
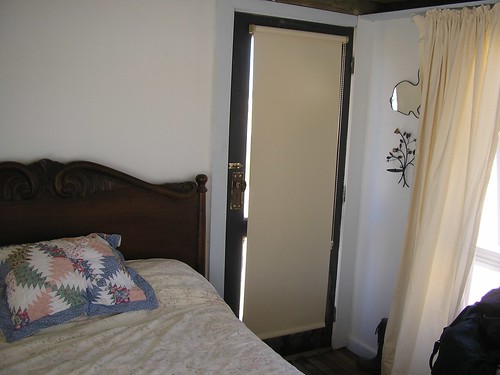
Curtains from Dad

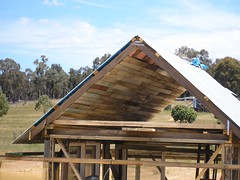
While the weather is so hot (40 plus degrees) Dad has found it unbearable sleeping in his caravan so relocated to the lakehouse when he is up there.  To help keep the sun off during the day, he installed curtains as well as a roller-blind on the door.

I'm reserving judgment on the curtains stylistically until I see them in person.  Although I'd place bets the frilly lace will not remain for long!  I suspect the long calico will work OK, although it is different in style to the wooden shutters I had been set on.  But I'm grateful for Dad's thoughtfulness and appreciate he needed to get something installed quick.  And if the calico curtains aren't perfect long-term, I'll be able to find somewhere else they could go, and in the meantime they do the job.

What started as a shed is starting to get rather civilised!  :)
curtains in lakehouse - 1

curtains in lakehouse - 3

Wednesday, December 12, 2012

Water tanks in the dam

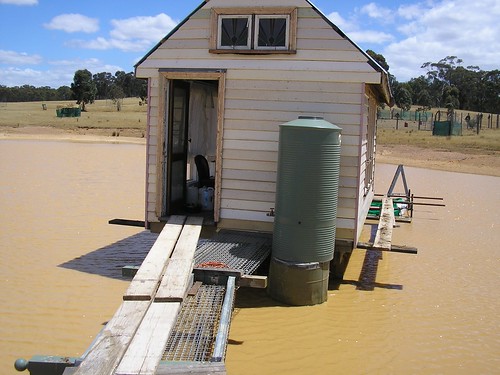
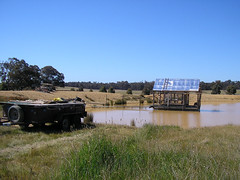
We'd always planned to have some potable water at the lake house (ie: not just from the muddy dam).  Dad's original idea was to run a pipe down from one of the tanks higher up the block, but then he worried the pressure would be too great to leave the line open all the time -- and too costly if the pipe burst and we lost a tank full of water.    So he moved on to plan B, which was to install a small tank standing in the water next to the lakehouse.

To save money Dad made use of tanks we already had on site.  For the stand he used an old metal header tank that came with the Rayburn all those years ago.  It had been damaged in the removal so wasn't suitable to install as a tank again, so this is a good way to recycle.  Then, he balanced a small tank he'd had beside the caravan on top.  It worked out to be the perfect height for the level of the pier.

water tank at the front of lakehouse

The plan is to extend the pier at the front so that goes around the tank, and then you will not see the underneath part.  Eventually we will put a small basin and maybe even one of those portable shower bags next to the tank, and wall it off somehow so it's not so obtrusive looking.  I did prefer the way the lakehouse looked originally from the entrance, without the tank, but I think with creativity we can find a way to make this look equally nice.  Of course, this means the lakehouse will eventually get spouting too, so it can keep the tank topped up :)

Tuesday, November 06, 2012

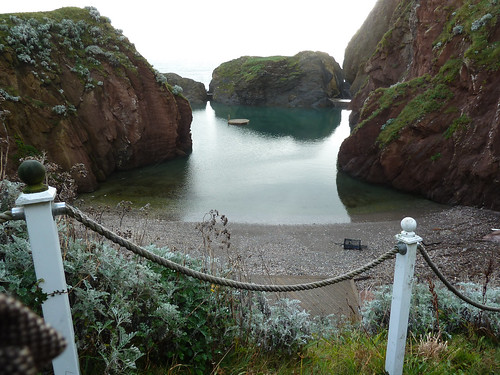
idea for pier handrail

We still have work to do on the pier. One of the things that Dad insists is needed is some sort of handhold, on one side anyway.  We're still toying with exactly what form it will take as we don't want it to be obtrusive.  Here's one idea, that I saw at Burgh Island on our recent visit.  I like it as it seems suitably nautical without being overly fancy:


mermaid pool on burgh island - 4

Saturday, September 08, 2012

we (halfway) have a proper pier!
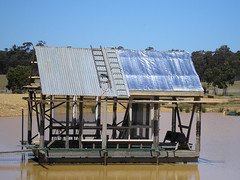
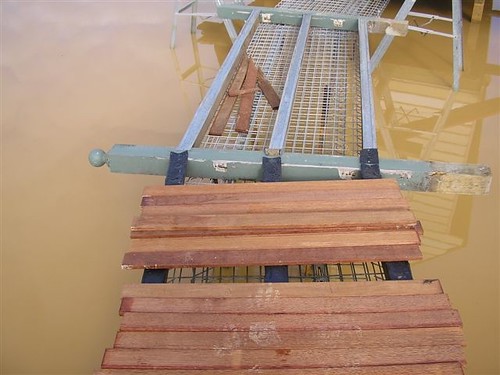
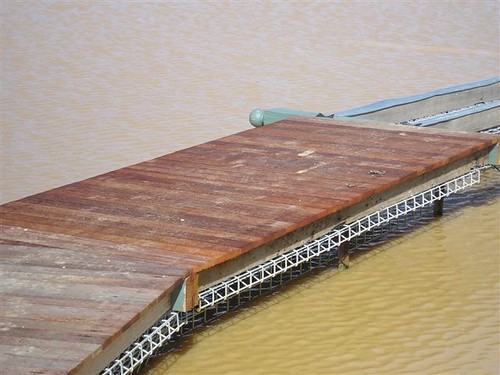
We've had a functional pier for a year now, made out of old wire fence panels, salvaged from the Toora house.  But while perfectly serviceable, it lacked a certain charm up close.  So when he needs a break from the heavy digging work, Dad has been using up the leftover decking wood, from his own verandah in Melbourne, as well as the offcuts from the 'lake house' floor, to give it a proper pier finish.  
Here's a few photos of it in progress: 

lakehouse - pier - 2

lakehouse - pier - 4

lakehouse - pier - 3
 

Saturday, July 21, 2012

Rain rain rain

So work continues but oh so slowly.  In winter there's less daylight, it's cold and it's pot luck whether the weather is nice or not.  For an area that's meant to be dry, it does seem to rain a lot at the wrong times.  Still I will never begrudge the rain there, even though it does slow things down.  

Dad's report from last week's trip:

I had dreadful weather this visit.  On Sunday and Monday it was very cold but not raining, just overcast.  But the clouds bucketed down on Tues and a bit on Weds.  I was able to complete the enclosure of the octagon room by working until 9pm on Sun, using light and generator, and again working from 0430 to 9pm on Mon.  Little did I know that the heavy rain was to come on Tues, but needless to say I was relieved I had made the octagon room serviceable. 

(The 'Octagon room' is a small enclosure Dad has built near his campsite surrounding the fire, so there is somewhere warm to be when it's cold)

I moved a tankful of water to the 5000 gal tank so we could continue to collect water this winter.  When I go back I will move more water. I moved materials stored in the Lakehouse out to the embankment.  I had put the decking into the Lakehouse the previous visit because the rains had filled the dam and where the decking was lying was underwater.  But now all is tidy in the Lakehouse and materials stored properly under covers on the embankment ready to resume the building of the pier.  I moved the planks to cover as well since they were left on the outriggers at the side of the Lakehouse and were exposed to serious weather.  I am gradually removing all the building waste material from the embankment as well.  I have taken three pots of firewood to the octagon room and sorted these according to type of wood for either kindling, small wood, or large wood pieces.  I did these jobs when it was raining because I could not use the generator.  

Some good news though:  

When I got home I found the permit for the amendment to plans for the old house waiting.  I can now seriously begin work on the extension. 

Sunday, April 15, 2012

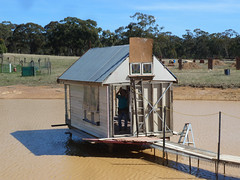
lakehouse is almost done, but not quite

We finished up getting about 95% of the way there with the lakehouse.  Which isn't bad going considering we lost Dave from the team after his accident.

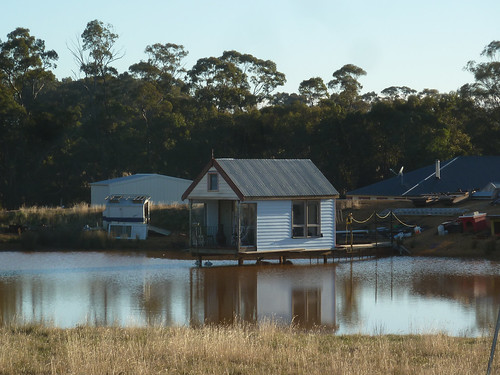
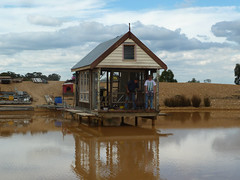
If you take a photo from the right angle, it looks quite complete... (except we eventually do need to get some trees planted to shield the next door neighbors shed and house roof - they weren't there when we started)
lakehouse progress - 70

But from other angles, it's clear there's a ways to go lakehouse progress - 87

There are a few little bits and pieces left to do inside but nothing major.  The bulk of the work is outside - painting and some carpentry.  Dad has since got all the important stuff done so it's watertight and secure, but the painting I fear will need to wait for my next visit!  

Saturday, April 14, 2012

Sunsets

So I love the vibe inside the lakehouse, and the verandah is great... but the most wonderful thing of all is the view.   It is the most perfect spot to sit and relax with a glass of wine, the fire going, and just look out.  These are just a few of the sunsets we got to see ...  

sunset from lakehouse veranda - 1 sunset from lakehouse veranda - 2 sunset from lakehouse veranda - 3


Sunday, April 08, 2012

The verandah is amazing

So far I've not really talked much about the verandah of the lakehouse.  This was an impromptu idea of Dad's but a brilliant one.

lakehouse progress - 75

Rather than having it be the full height, he put in a lowered roof so there's a small loft above it.  That's great on the inside as it's extra storage - or even a sleeping area.  But it's also a bonus for the verandah as it gives it a far cosier feel.

There are glass panels either side of the verandah so that effectively it's closed in on 3 sides.  I must admit, I was horrified when I first heard about that - but it turned out Dad was right.  They are hardly noticeable, and it really helps cut down the wind.  He was also right about the balustrade - I'd been convinced I wanted it open so I could sit and dangle my feet off the edge; but it's such a small area that you really do feel safer having it.  Plus it turned out to be a great footrest :-)

The verandah floor is currently just stacked brick, although eventually I'll put tiles.  The roof is lined with an old metal fencing sheet which I painted sky blue.  Dad put that in so it was fire-resistant, so we could use the chiminea there, which is just lovely to sit around.

lakehouse progress - 55 lakehouse furnishing - 02

We still have a bit of work left to do on it - the floor needs laying properly, the architraving needs doing on the outside, and of course it all needs a proper paint job.  But we got close enough this trip for me to see how wonderful it will be.


Saturday, April 07, 2012

We finally moved in... (well temporarily)

OK, it's not 100% complete yet on the outside, but we got it to the stage that it was close enough.  I couldn't wait any longer to move in.  :-)  

lakehouse furnishing - 05 lakehouse furnishing - 01
lakehouse furnishing - 06 lakehouse furnishing - 04

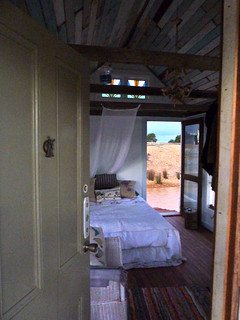
It was furnished with a combination of things that I got out of storage.  The bed is a blowup one, believe it or not, but very very comfortable.  Some old chairs and tables that I cleaned up, along with some nice linen and paper window blinds and the odd book and nick-nack and suddenly it starts to feel very comfortable.  Still very shabby of course, as befits what is basically a glorified shed - but I love it.

The amazing thing about sleeping there is that it is so peaceful, the only thing that wakes you in the morning is the sun creeping in and the sound of the birds.  It's lovely.

Of course, we were only there a few days when it was time to leave, so everything got packed up so Dad can use it for his own stuff.  But I prefer to remember it like this.  :-)

Working on the lakehouse

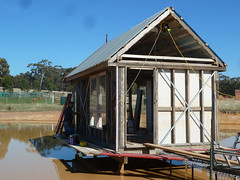
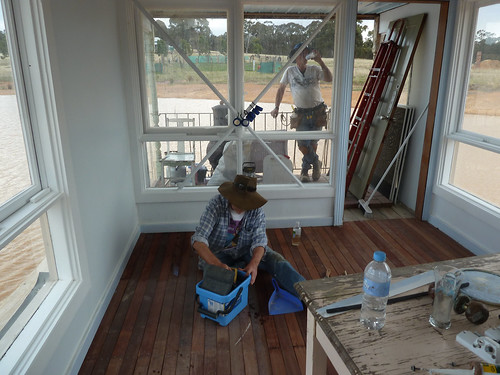
We recently spent over 2 weeks at Amherst as part of our long-awaited holiday.  Originally the plan had been for the lakehouse to be ready for us to move into - but despite Dad's valiant efforts, that was still a long way off.  This is what it looked like when we arrived:

lakehouse progress - 01 lakehouse progress - 03

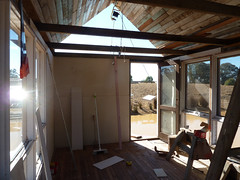
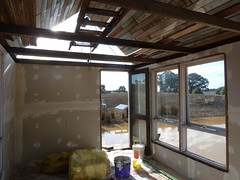
Yes, charming and visible potential, and some lovely windows and a ceiling... but no walls.  :-)   Thankfully we had backup accommodation - huge thanks to Tiff and Cal, Renee and Dave - or else I would have been a very unhappy camper!

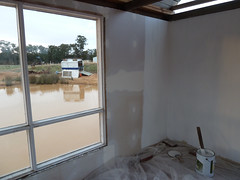
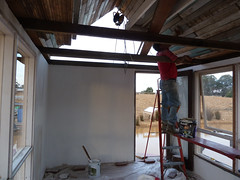
The first day and a half we made great progress, with Dave putting on plasterboard.  Dad had cleverly rigged up electricity through the generator and so we had lighting, letting us keep working late into the evening.

lakehouse progress - 12 lakehouse progress - 13
lakehouse progress - 18 lakehouse progress - 16

Then disaster struck... Dave fell off a ladder.  He was really lucky - the only thing hurt was his ankle, in what turned out to be a severe sprain - but it could have SO much worse.  So we spent a day getting acquainted with Maryborough Hospital.

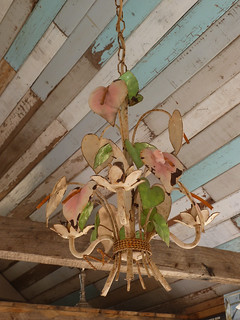
From then on Dave was out of action pretty much, so Dad switched his focus to help me work on the interior.  While I worked on the undercoats on the wall, Dad gave the ceiling a good wash.  He'd used old lining boards for it which looked amazing - but they were FILTHY.  Once scrubbed up though the end effect though was worth the effort - I adore them.  :-)

lakehouse progress - 20 lakehouse progress - 21

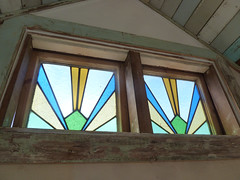
The next urgent task was to get the end somewhat sealed.  I'd bought some old stained glass windows that were still in frames, so Dad put them in... then did a quick patch job with old plasterboard, until he could get to the weatherboarding.  The architraving was made by Dad on-site hewn from some old weatherboards he saved from a skip.

lakehouse progress - 28 lakehouse progress - 40
lakehouse progress - 34 lakehouse progress - 38

And so it went on.  I painted and painted, while Dad did carpentry, and even Dave helped where he could - washing the floor which by then was filthy with plaster dust...

lakehouse progress - 43 lakehouse progress - 45
lakehouse progress - 44

Until at last... it was ready.  

Saturday, December 03, 2011

Lining the lake house ceiling

Dad is pressing on with work at the lake house, whenever he can find a spare couple of days.  Now we have a roof on both sides, and a start made on lining boards holding up the insulation too. I love the way it looks, it will be brilliantly airy and light feeling.

work continues on dam house roof lining - 11 work continues on dam house roof lining - 01

Email from Dad, Nov 13th:  (originally we'd planned to leave the lining boards as a job for us to do)
I want the best lining boards to go on the old house veranda... that means that I will possibly have to use several different types of boards to do the lakehouse. I have realised that if I don't do this task now I will have to provide another 4 rafters for the task of fixing the ends of the boards and that is pointless. So I will do that task now.

 Email from Dad, Nov 26th: 
I sorted the boards of several of the most promising board size with respect for quantity to complete the work with one type of board. This was worthwhile work as I needed to be sure before committing myself to a size. As it transpired I have a sizeable pile, I think I will get all the dado as well as the ceiling from it. There are very many boards which almost work-in but don't because of the ends being split or rotted. These will be cut to use for the dado up to 900mm. Above this dado will be plasterboard painted to provide the contrasting and set off the lining boards.  I didn't straighten the underside of the rafters as when I checked they were pretty good on this side at least.

Saturday, November 05, 2011

Lake house update

Dad has been making steady progress.  I love seeing it coming together, it's looking even better than I imagined.

Here's the latest photos Dad send, showing the roof being added, on one side, and below are extracts from his emails explaining what he did.

lakehouse gets a (one-side) roof - 2 lakehouse gets a (one-side) roof - 5

lakehouse gets a (one-side) roof - 4  lakehouse gets a (one-side) roof - 3

From email 22 Sept

"I got the rafters into place the first day. I had to accommodate a small dip in the wall plates by cutting the rafters to suit each position so as to get a near perfect fit against the ridge. I am very pleased with the fit of the 14 sets of rafters.

 Overnight I was worrying how I might manage to do the roof battens and sheets as I do not have materials for making pipe scaffolding to that height that can be easily put there as all my long pipes are involved with the scaffold for the old house. I woke up with the answer, as is often the way.

I had ordered material that would be used for the second half of the veranda at the front of the old house, but had to use the rafter materials for the lakehouse. As you can see in the photos I managed to create a high perch using the long battens with enough remaining for the lakehouse. I didn't have enough to be sure until I am finished with the fitting of battens on the lakehouse to use any for handrails, but will use some if possible.

I placed the scaffold to trim the rafter tails, fit the fascia, fit the battens, and then the sheets. I had to space the rafters at 450mm centres because we are lining the underside with lining boards for the high ceiling. Normal spacing for this kind of roof is closer to 1mtr. As the roof grows in timber members so the weight increases. Consequently, I have installed very sturdy bracing against wind and weight as I am building the roof. This bracing had to replace bracing made earlier but which was in the way of current works.

The triple grips to anchor the rafters at the plate were put on prior to making hoop iron strap bracing to make it all more rigid. I have to put sarking on top of the battens before the sheets. I have placed the battens to suit the secondhand sheets holes from previous fitting"

From email 25 Oct

"I got the first half of the roof sheeting done last visit. The breeze was at times difficult, and at the end of the second day the drill fell into the water. I had to stop work until it could be checked for safety...     I was obliged to make a ridge hook ladder from one of my old tressles made of pipe. It worked a treat, but it is quite strenuous to my feet to remain standing on such a gradient for any length of time.

I will have to assign the ladder to be used for the loft access because it must remain for use when getting on the roof to do any maintenance. Are you still keen to have the rusty iron atop the roof to render it old looking? I have to proceed with this stage if that is the case before I remove access scaffolding. Once I put the weatherboards on the gable ends it will be neccessary to access the roof from the aluminium ladder founded in the dam bed beside the pier.

 I have to get some suitable material to make the ornamental barges also. Do you have any special pattern for the ornamentation in mind, or should I try to copy that in the photo of the old boathouse you sent me? The tooling of the boards is to be done prior to fastening them after cutting to size from the stock board. I can do a small range of router tooling for the edges, and can use a jigsaw for the shaping of the board. Ideally I will get some secondhand cedar from the demolition yard. Using cedar will mean it will endure"

(NB: We've decided not to worry about the rusty iron on top because it looks so splendid as is, so that'll be a good time saver.  In terms of the ornamental barges, I'm still trying to figure that out - am not exactly sure what they are yet :-)   It may be we delay that until later, but tbd)

Saturday, September 17, 2011

Lake house gets beginnings of a roof

The exciting news is, we have the outlines of a roof!  There was a little to and fro'ing at one stage, Dad was considering a shortcut of making a much lower roof using some old bullnose sheets we have lying around... but on consideration we stuck to our guns and decided to stick to the original plan of having a nicely pitched roof.  I'm so glad, I love the shape it's turning out to be.

dam house work in progress - 13

dam house work in progress - 01 CROPPED

Saturday, August 13, 2011

the lakehouse starts to take shape

Progress at Amherst is always sporadic, but we're on a bit of a roll at the moment.

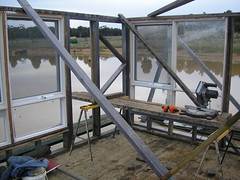
My brother Pete saw a lot of old cedar windows being thrown away from the building site he was working on, so rescued them from the skip for Dad to collect.  They're in great condition - I can't believe people throw away stuff like this!

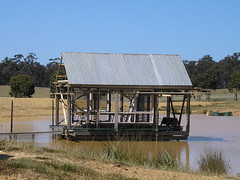
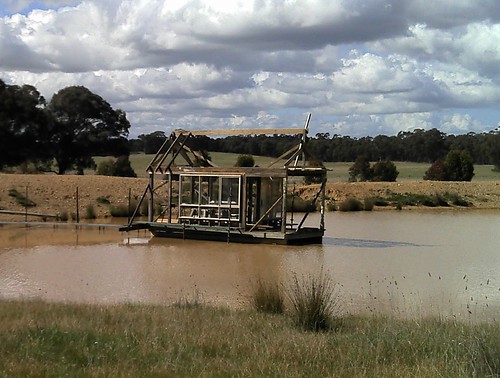
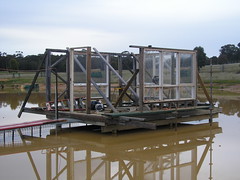
Anyway, rather than hassle finding a place to store them, Dad decided instead to use them right away in building the "lake house", aka the fancy shed being built on stilts in the middle of the dam.  

He moved the scaffolding from the house down to the dam and set up little plank walkways so he can move around the outside.  Dad seems to be making up the design as he goes, and there's a lot more windows in than previously envisioned, but that's OK.  It'll end up I suspect feeling more like a sunroom than a boathouse, but it still suits the setting so I'm not fussed, and I am just grateful to have progress!

beginning the lakehouse proper 009   beginning the lakehouse proper 011

beginning the lakehouse proper 010

Thursday, March 10, 2011

We have a bridge!!

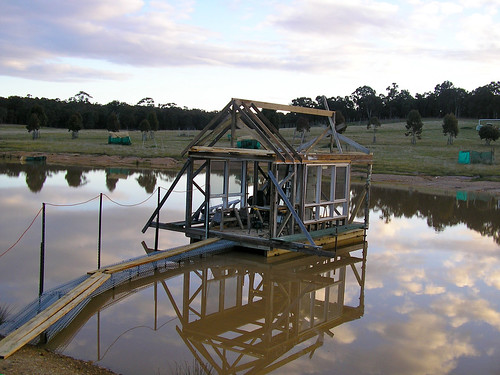
I am so excited that I don't care I'm making myself late to work to post this.  Dad just emailed on his return from a working trip to Amherst.  He decided to surprise us by putting in the bridge to the "dam shed"!

dam with bridge and house behind

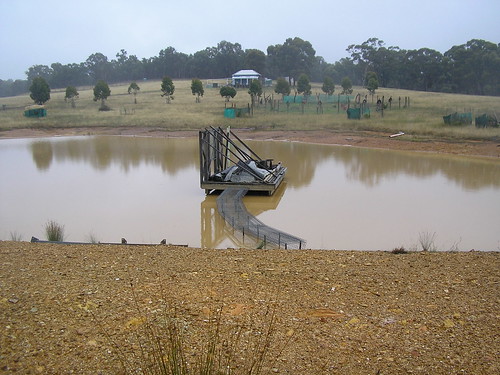
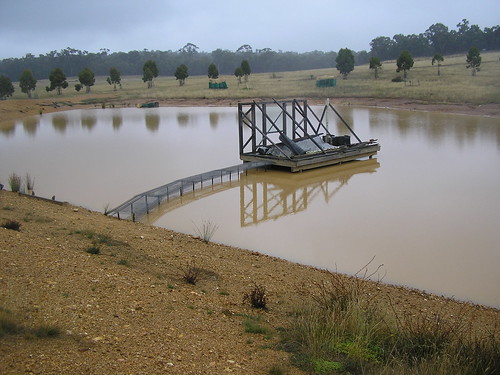
Eventually this building will be a (quite fancy) garden shed/retreat.  But my dream is that it will be finished enough by the time I next visit so I can camp in it.  The big hiccup to that had been that after the heavy rains, we'd had no way to access it to finish the building work... now, thanks to the miracles of Dad, we do!!

dam with bridge

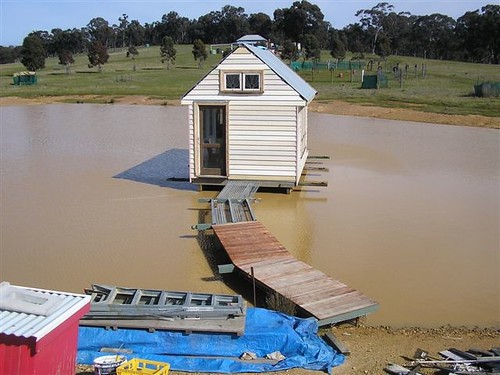
Dad describes it thus: "It is a full 900mm wide and four panels long.  It is supported on steel pegs driven into the soil under the dam.  It is very sturdy.  It is approx a foot above the water. I could push a loaded wheelbarrow over it if needed. I used all the surplus fence panels from Toora to make an everlasting and safe bridge rather than a flimsy affair that needed lots of care to keep it safe.  I hope you like it as it was a bit of an ordeal to build"


I love it!  I especially love the curve - I hadn't even though about having it curved, had just presumed it would be built straight as that would be simplest, but having it curved gives is such a lovely shape, it's perfect.  The only thing we will do to give it a finishing touch is - eventually - put some decking over it, to make it look like a mini-pier / boardwalk.  But that's a minor detail - already it is functional and beautiful.  :-)

Sunday, October 31, 2010

update and idea for dam shed ramp

All is quiet at Amherst for the moment because Dad has instead been working on some emergency repairs on the Toora house instead.  One small step forward though - Dad managed to rescue some strong metal fence panels (remnants of the old Toora fence) which he's thinking about using at Amherst.

I don't much like the look of them, but one possibility is for them to become the base for the pier-like ramp that Dad plans to build, so he can access the damhouse without needing a boat!

sheds - 02